A layout square is an incredibly handy tool for professionals and DIY’ers alike. What makes a layout square so useful is its balance of simplicity and versatility. It’s inexpensive, it needs no maintenance, you’d have to put forth a lot of effort to damage the thing, and it offers six tools in one.
The 1/4″ spaced notches make the layout square so
great for guiding a carpenter’s pencil.
Layout squares function as a Rafter Square, Try Square, Miter Square, Protractor, Line Scriber and a Saw Guide.
Personally, I use a layout square so often as a guide for simple cross-cuts that I don’t even realize I’m doing it anymore, it’s become so ingrained in the way I cut wood.
The layout square‘s 1/4-inch spaced notches make scribing lines a breeze. Bold, black gradations make it easy to read, and the matte finish prevents glare. Some layout squares are made of heavy-gauge aluminum alloy for a lifetime of lightweight durability. Other versions of the square made of high-impact polystyrene. Some squares feature built-in block levels and some feature a magnetic surface. One of the newest features is a diamond-shaped cut-out, which makes layout work and seat cuts on common rafters easy. Many layout squares come with book of instructions, which provides details on using the square for basic roof construction, rafter tables and even a section on stairway construction.
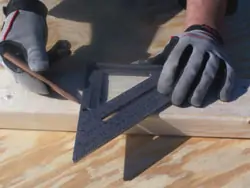
Use it as a try square to mark simple cross-cuts.
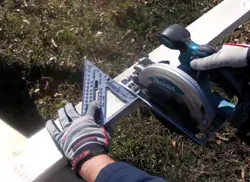
Then slide the square over and use it as a saw guide.
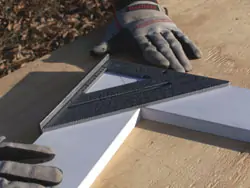
Use it as a miter gauge for a variety of woodworking
applications.
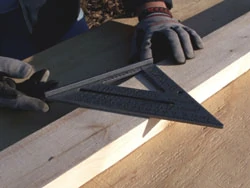
Use it as a protractor to mark an angle cut.
In fact, whether you’re building a roof or just some simple shelves, any pro or DIY’er will find plenty of uses for the layout square.
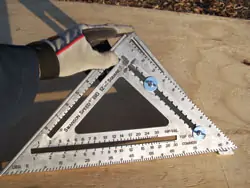
Shown is a large 12″ layout square for framing applications.
SIDE NOTE
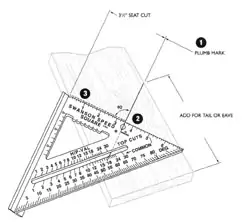
Rafter Seat Cuts
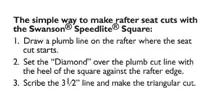
The Simple way to make rafter seat cuts with a layout square (provided by Swanson Tool Co.)
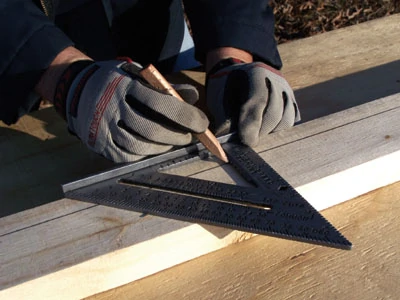
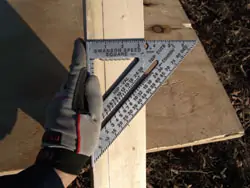
- First draw a plumb line on the rafter where the seat cut starts.
- Then set the “Diamond” over the plumb cut line with the heel of the square against the rafter edge.
- Scribe the 3-1/2-inch line and make the triangular cut.