Having lived for a little over half a century, some of us have seen things change and products evolve. Jake Clark, the current CEO and original president of Armstrong-Clark recalls...


Having lived for a little over half a century, some of us have seen things change and products evolve. Jake Clark, the current CEO and original president of Armstrong-Clark recalls...
The kitchen, often considered the heart of the home, is undergoing a dynamic transformation. According to the National Kitchen & Bath Association’s latest research, new trends are emerging, with islands,...
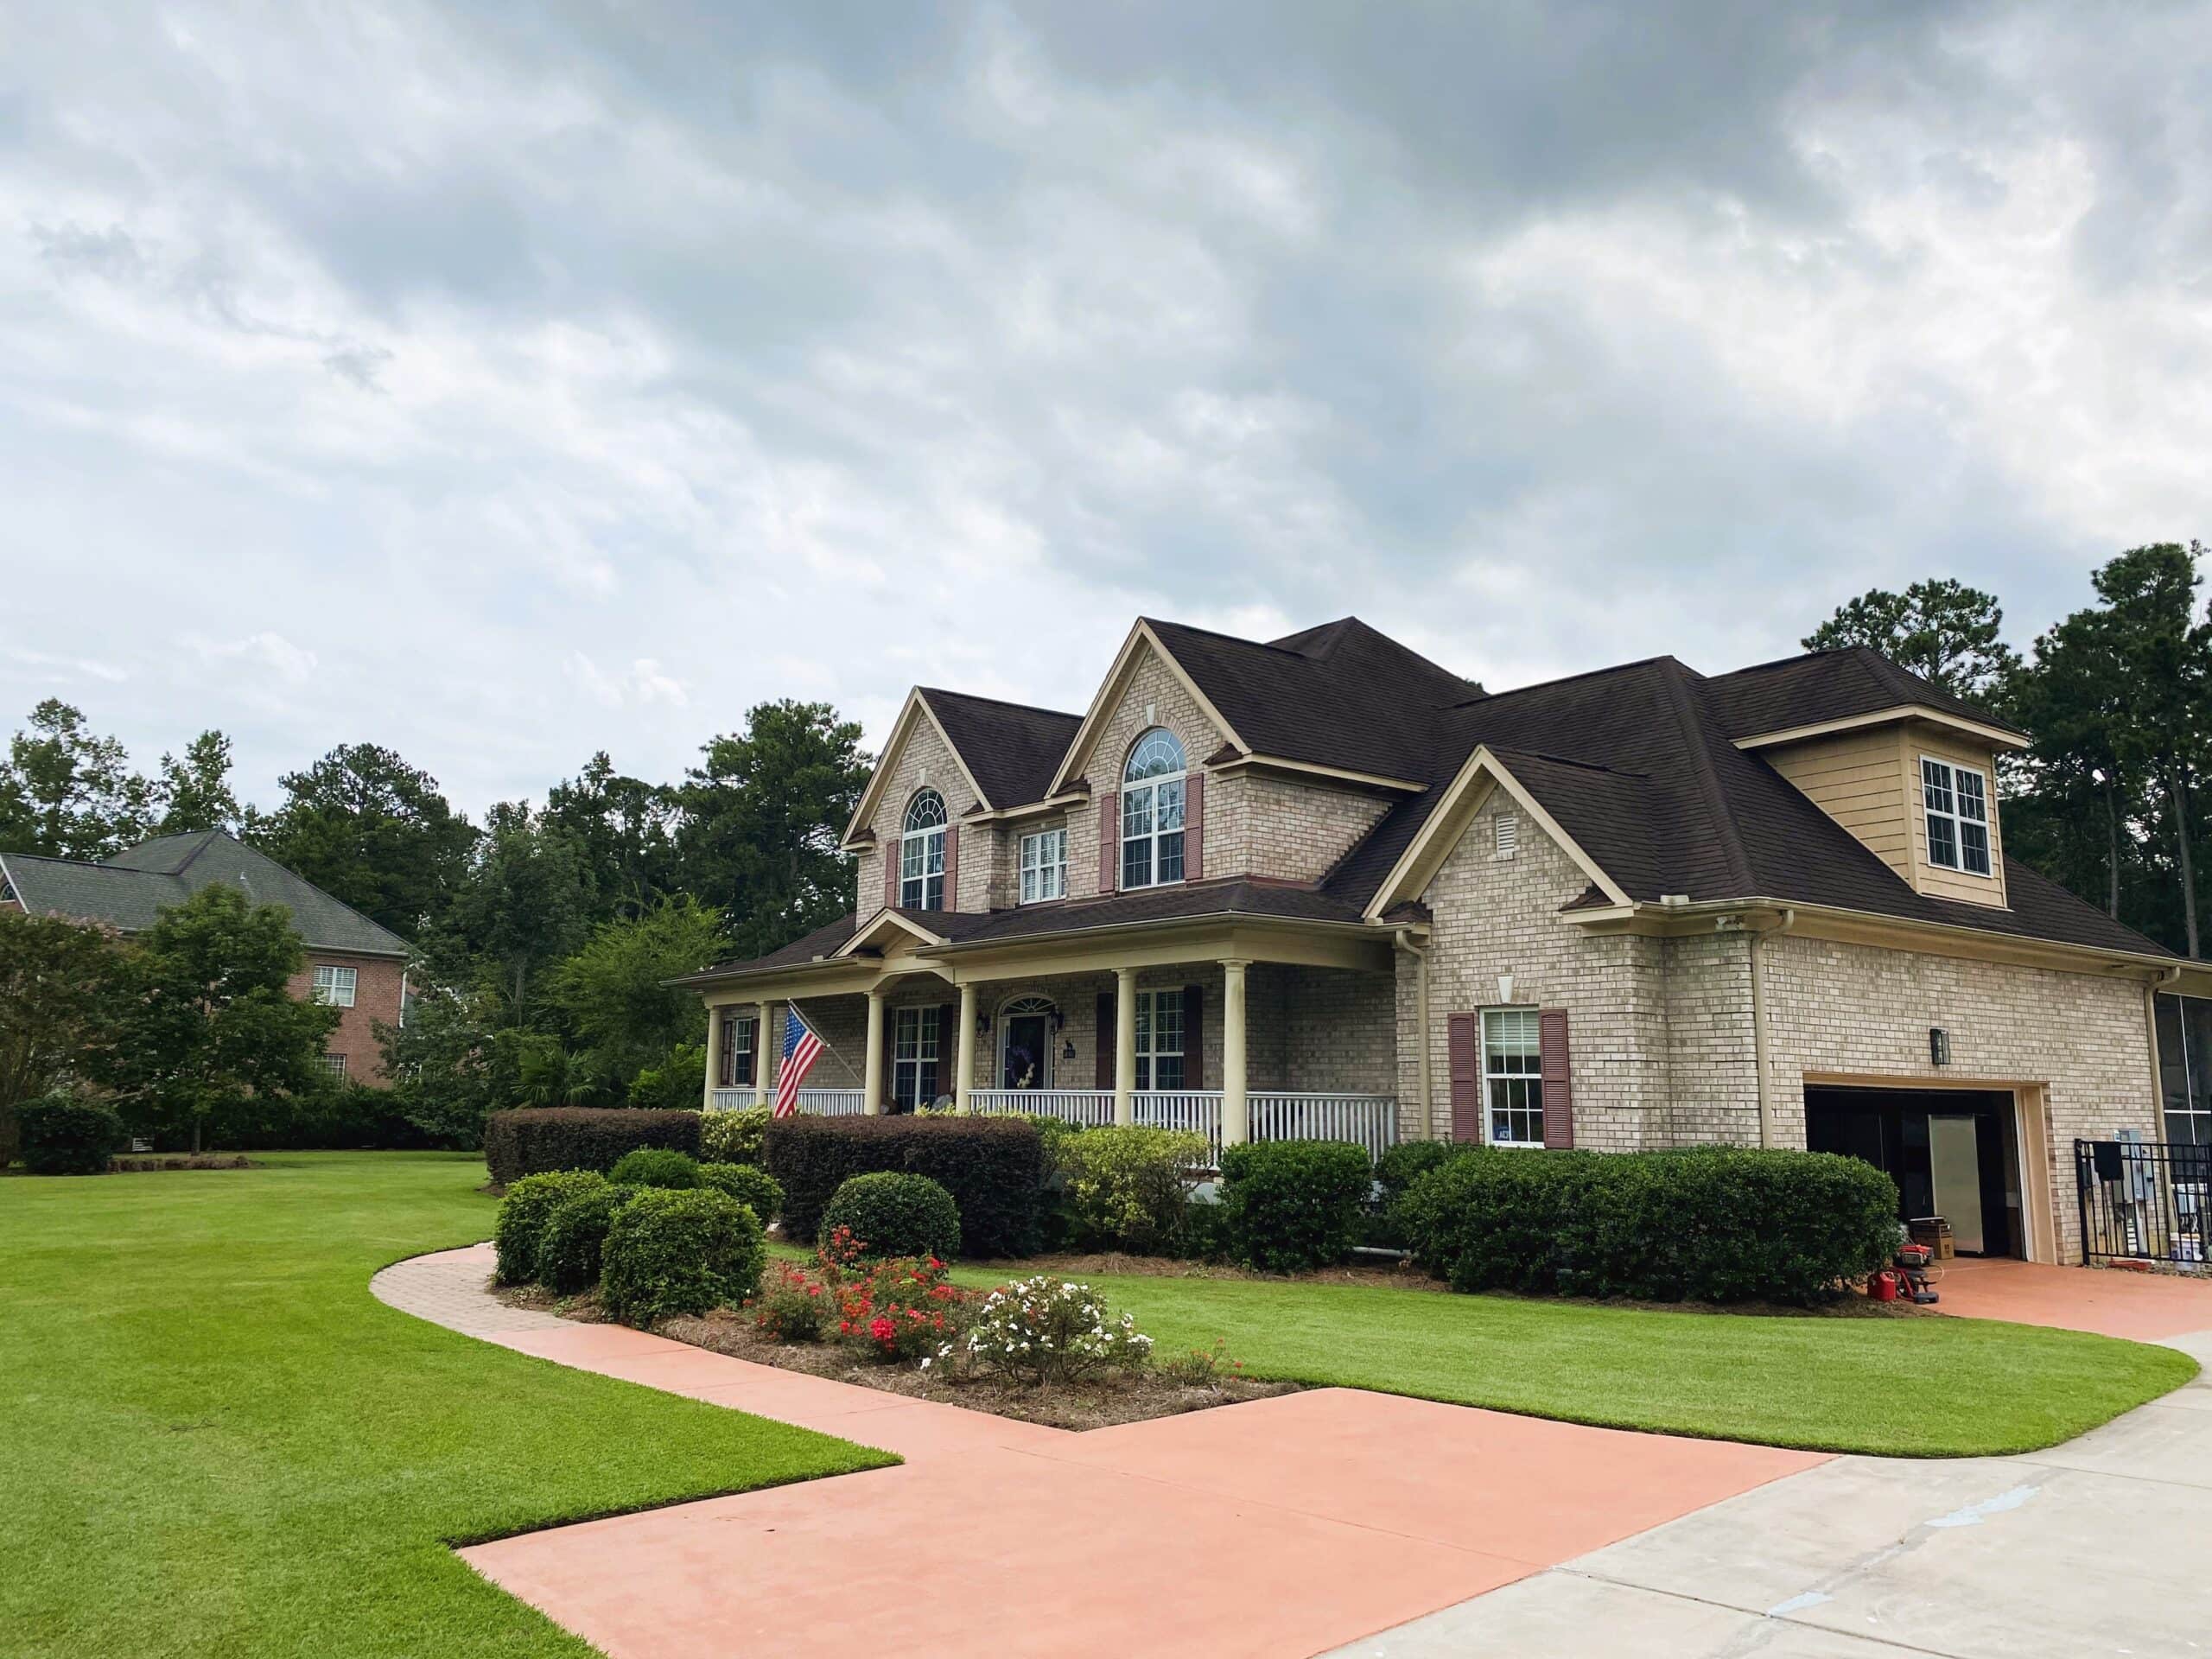
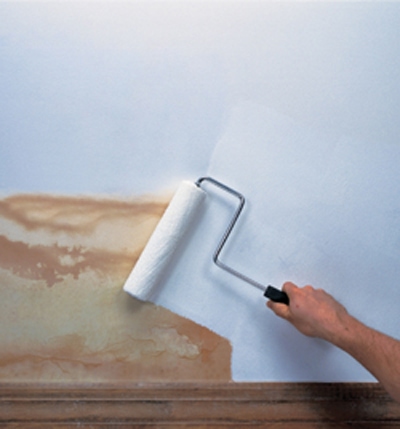
Warm weather beckons, and homeowners answer the call. Springtime means taking inventory of the home exterior and making changes. DIY projects upgrading the home’s curb appeal are both rewarding and...
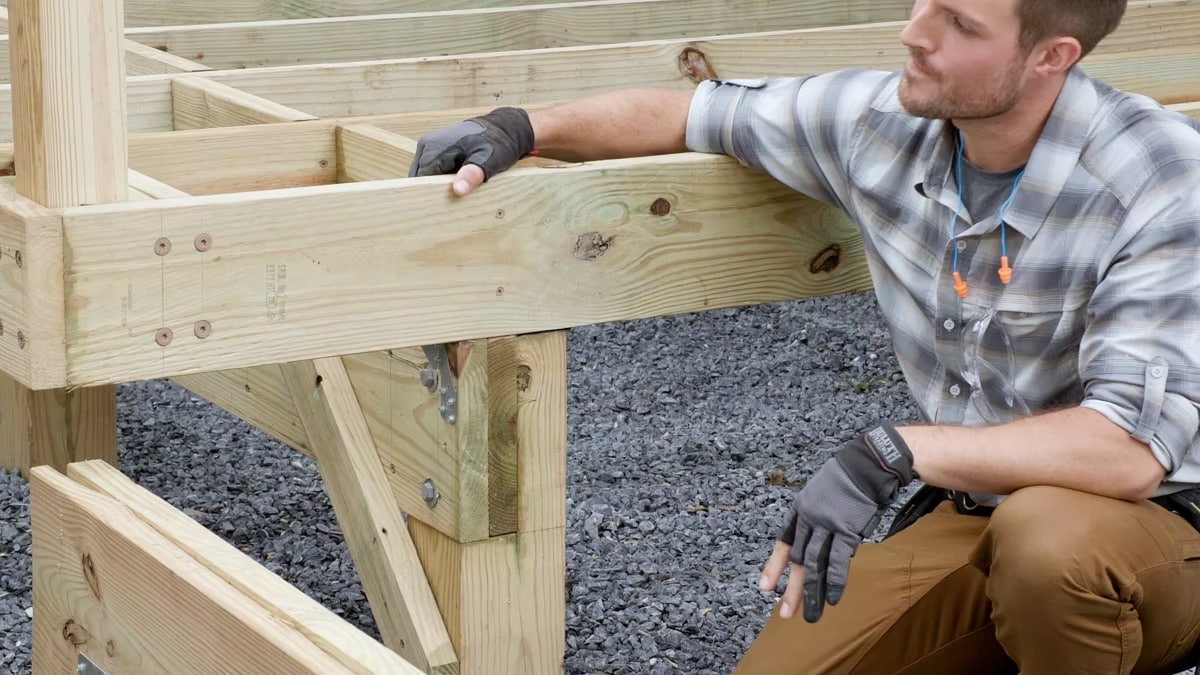
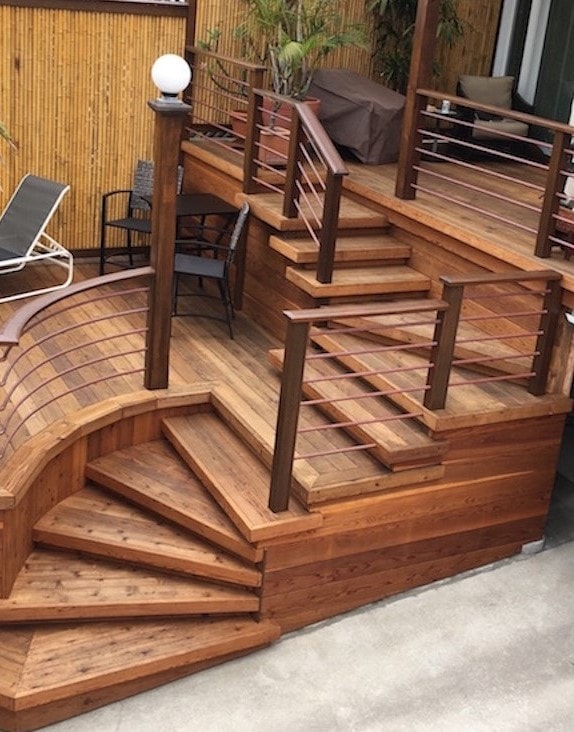
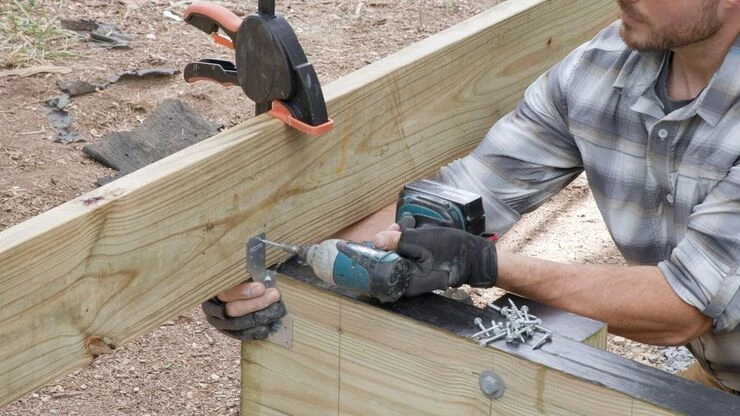
Are you ready to transform your outdoor space with a new deck? A solid foundation begins with a well-built frame. In this step-by-step guide, I’ll walk you through the construction...
Springtime is more than just blooming flowers and warmer weather—it’s also the season when the construction and home improvement industries come alive! As the days lengthen and the sun shines...
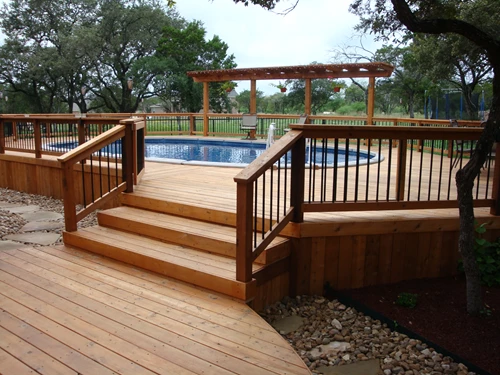
Above Ground or Ground Contact? That is the Big Question By Belinda Remley Whether taking on a project themselves or hiring professional contractors to handle the job, many consumers have...
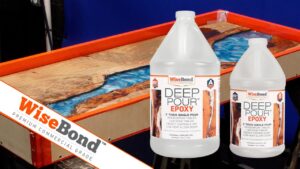
Step into the world of WiseBond™ Epoxy WiseBond™ Epoxy Systems are a premium commercial grade epoxy line made right here in the USA. Brought to you by DeckWise®, manufacturers of hardwood deck fasteners and accessories. From the DIY to the professional, anyone can let their imagination run wild with the WiseBond™ epoxy systems. These epoxy resins are VOC free, low odor and easy to use for anyone. What makes our epoxy stand out above other

The Surebonder® TriggerFire™ staple gun was designed to ensure easy, precise stapling that can be achieved using just one hand. The heavy-duty construction and easy-to-use design make even the toughest projects a breeze. This staple gun is compatible with Surebonder® #4 heavy-duty staples and Arrow® T50™ type staples. Packed with great features like easy drop-in loading, a comfortable rubber-gripped handle, a handle lock for storage, an adjustable staple depth power lever, and two stapling modes;
By Clint C. Thomas From managing time to managing finances, here are some tips to streamline your next remodel. With the home buying market being...
Read More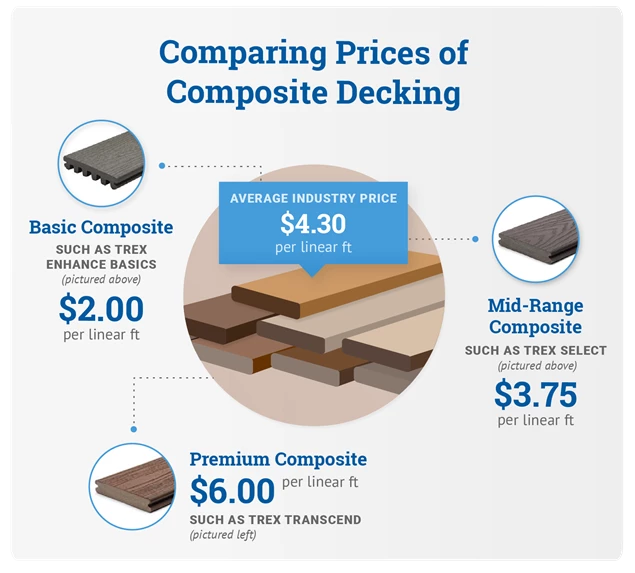
With the price of wood nearly doubling, low-maintenance composite decking looks better than ever. As you research the options and compare prices, keep in mind that many manufacturers offer different product lines at different price points, i.e., “good, better, best.”
Read More >>
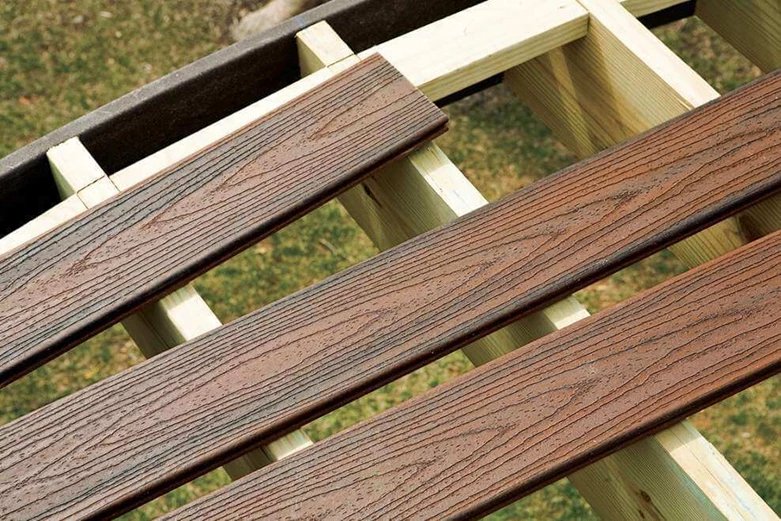
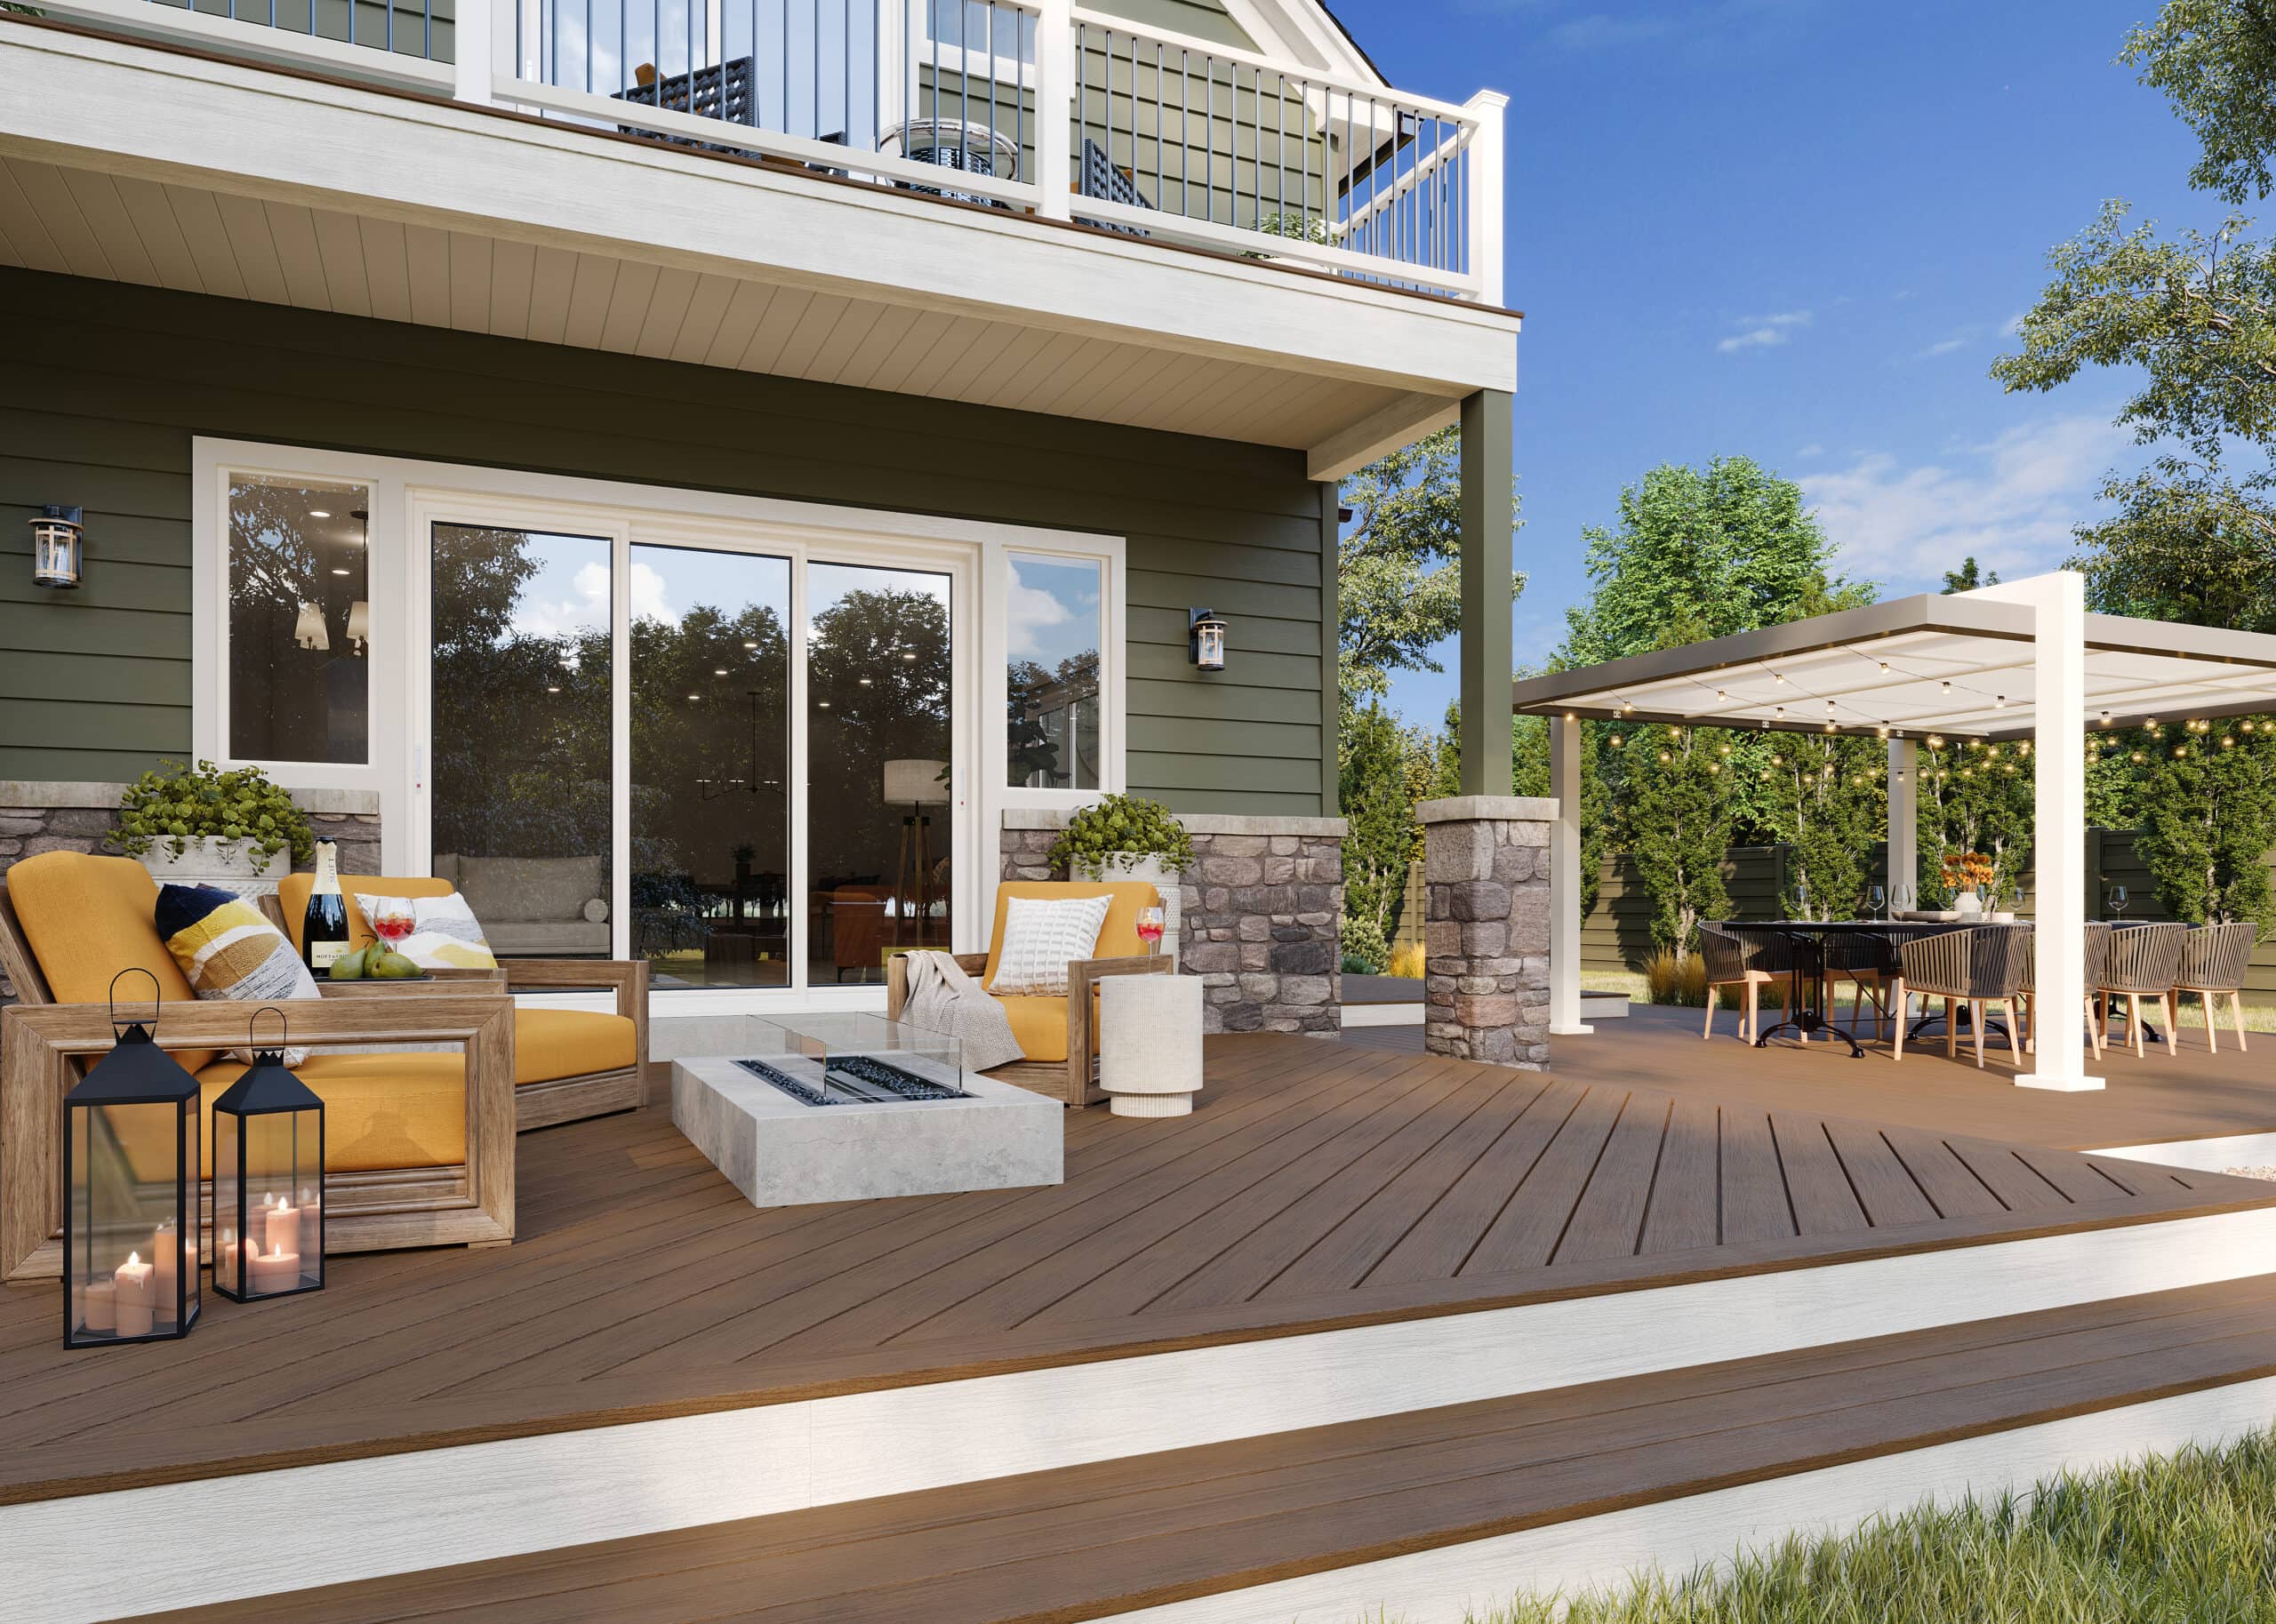
Choosing a decking material is arguably the most important decision you’ll make while building a deck. Different circumstances call for different types of decking, such as composite and wood decking.
Read More >>
Bringing your favorite people together to enjoy a beautiful summer day on your deck is a great way to unwind and relax. And while it’s important to have a deck that’s aesthetically pleasing to you, you first have to make sure it’s structurally sound.
Read More >>
Choosing a decking material is arguably the most important decision you’ll make while building a deck. Different circumstances call for different types of decking, such as composite and wood decking.
Read More >>

Western Window Systems unveils new products at 2024 NAHB International Builders’ Show PHOENIX, Ariz. – Western Window Systems, part of the PGT Innovations (NYSE: PGTI)...
Read More
Are you ready to transform your space with the stunning beauty of cement tiles? Well, you’ve come to the right place! In this comprehensive guide...
Read More
This summer, Desenio taps into the demand for Italian sophistication and quiet luxury with the launch of The Amalfi Lifestyle, a collection of art prints...
Read More
Reconstruction of the walls and floor can present problems for a major bathroom overhaul. By Rob Robillard Bathrooms are botched more than any other room...
Read More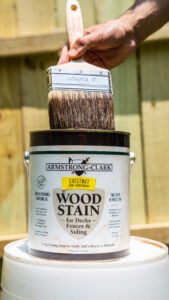
Armstrong-Clark’s deck and siding wood stain has nondrying conditioning oils that separate from the drying side of the formula. These oils penetrate deep into the deck or siding wood fiber where the wood’s natural oils used to be. This process rejuvenates the wood. The drying oils stay at the surface, lock in the conditioning oils […]
Read More >>